
Welcome to my blog post!
Fold And Flip
Comparing Numbers 0-20
Interactive Foldables
 |
| Product in my TPT Store-Make Math Magic |
I love any interactive foldable flips! I recently updated this set of foldables that
I had used my classroom. They are adaptable to use throughout the year, depending
upon the goal I have in mind. Since time is a valuable commodity for teachers,
we need to think of multiple ways to use a product.
 |
| Three uses of the foldable flips |
Some children struggle with math terms if they are not familiar with
the words or are not in an environment where the use of the vocabulary is
consistent.
 |
| 1 page of the interactive foldables. There are more at the ending of this posting. |
As their understanding develops through the year, you can utilize these
interactive foldable strips in several ways. Before you introduce them, please
be sure you have given your students plenty of opportunities to ‘play with’ the
numbers 0-20, repeatedly use the necessary vocabulary not only in math class
but in every situation and context you possibly are able. Do not introduce the
abstract symbols < ≥ too early to your students who are not
ready for that part.
**There are more fold and flips to download at the end of this posting.

Displaying or projecting < ≥ the visual chart allows students to talk about what they see—fewer or less than cupcakes on one side and a higher number on the other side.

 |
| Visual Display Chart |
If your students do not notice or ask about the dots, discuss how the strategy of placing one dot on the tip of the arrow that has the fewest objects or numbers can be useful. Placing a dot on each end of the arrow is a visual aid to show which side of the arrow has more dots and which side has fewer dots.
Frequently in the introduction of the lesson, I ask students to place dots on the tip of each symbol, so they see a visual of the dots showing the more or fewer numbers. Since the = sign is seen more frequently, it becomes easier to recognize and understand as they also see it in number equations.
I like to use the interactive ‘fold and flip’ in a variety of ways. so it continues to sustain high
interest with my students during the year. When I taught first grade, it was
helpful to use these as an assessment tool at the beginning of the year. This
simple activity allowed me to immediately determine which students needed extra
support and which students were ready for the next step. After my assessment I
may want to use only numbers 0-10 for a period of time, then add the numbers
11-20 to the set.
 |
| Direction sheet to display |
1. Use Acetate Sleeve Protector Sheets or Laminated Whole Sheets
protector sleeve as a teacher lesson or as a partner activity. Have dry erase markers and erasers readily available.
•If you are using this
as a teacher-led activity, print enough copies of the product and provide an
acetate sleeve protector for each student.
• Provide dry erase markers and erasers in the area for each group. I often use felt squares or cut squares from old socks. That way I can either wash and reuse or replace with new ones.
 *If no acetate sleeves are available, laminate each sheet for the
number of students needed. This way they can be reused multiple times.
*If no acetate sleeves are available, laminate each sheet for the
number of students needed. This way they can be reused multiple times.
• Provide dry erase markers and erasers in the area for each group. I often use felt squares or cut squares from old socks. That way I can either wash and reuse or replace with new ones.

2. Journal Usage
• After printing either pre-cut the strips for your students or have each student cut out the pieces as they glue and enter them in their journal. Perhaps a partner or student from a higher grade might be willing to help with this task.
•Using the activity as a journal entry enables the student to interact
in a hands-on manner. It can be used as a follow-up lesson, practice time or as
a review of the skill- comparing numbers with the symbols, < ≥ =.
• Print each set on a different colored paper.
Colored paper is useful, so students will not get their work mixed up with a
neighbor’s work. It can occur if all sets of work use the same color of
paper. A bonus of using different colors is that it elevates the interest
level of your students.
3. Math Center and Independent Work
 • Print the sets of
interactive foldable strips in multiple colors for easier use by the students.
As mentioned above, I have had children frustrated because they get their
foldable flips mixed up with another child because the strips are the same
color. It takes too much valuable learning time to sort out their work.
• Print the sets of
interactive foldable strips in multiple colors for easier use by the students.
As mentioned above, I have had children frustrated because they get their
foldable flips mixed up with another child because the strips are the same
color. It takes too much valuable learning time to sort out their work.

• If you are using the activity in your center,
be sure to laminate each sheet after you have printed them. After the time spent cutting out the strips, you want
to be able to use them repeatedly throughout each year.
• If small groups of students,
such as 2-4, are using the activity, provide a small container for each group
of students. In that way, partners or individuals have their bowl with the
strips, making it easier to organize and sort.
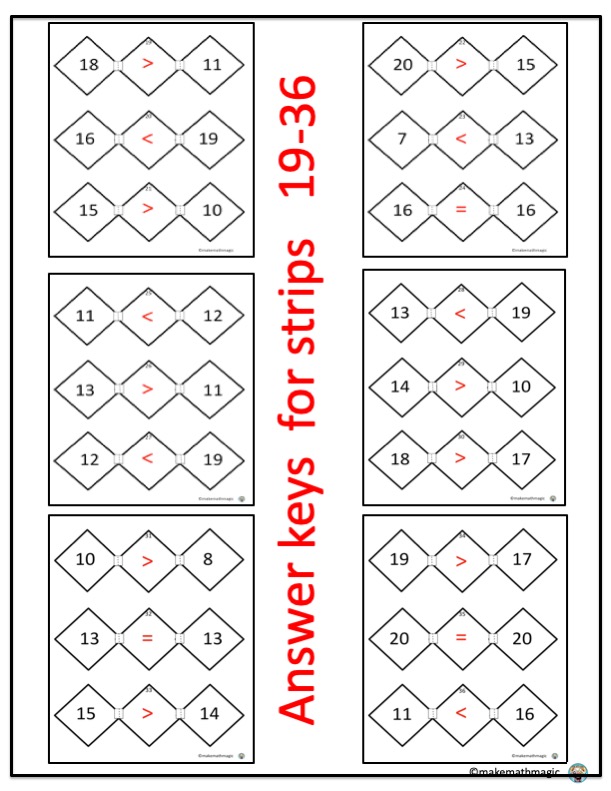
• Using the answer keys, students can check each other’s results. There are two types of answer keys. One key is a duplicate of the sheet with the answers in red. Another key has smaller strips with 6 per page. You may prefer one type or use them interchangeably, depending on the age of your students.
• If
a result does not match the answer key, have the student place a dot on each
tip of the symbol to prove their thinking. • Using the answer keys, students can check each other’s results. There are two types of answer keys. One key is a duplicate of the sheet with the answers in red. Another key has smaller strips with 6 per page. You may prefer one type or use them interchangeably, depending on the age of your students.
**You
will find all the interactive foldable strips, answer keys in this product in
my TPT store, Make Math Magic.


Thank you for visiting my blog. Hope you and your students love this activity for hours of fun. See more at my TPT Store, Make Math Magic.
No comments:
Post a Comment